Setting up the AWS App Runner Service
Open the AWS console, and browse to the AWS App Runner service, or https://console.aws.amazon.com/apprunner/home:
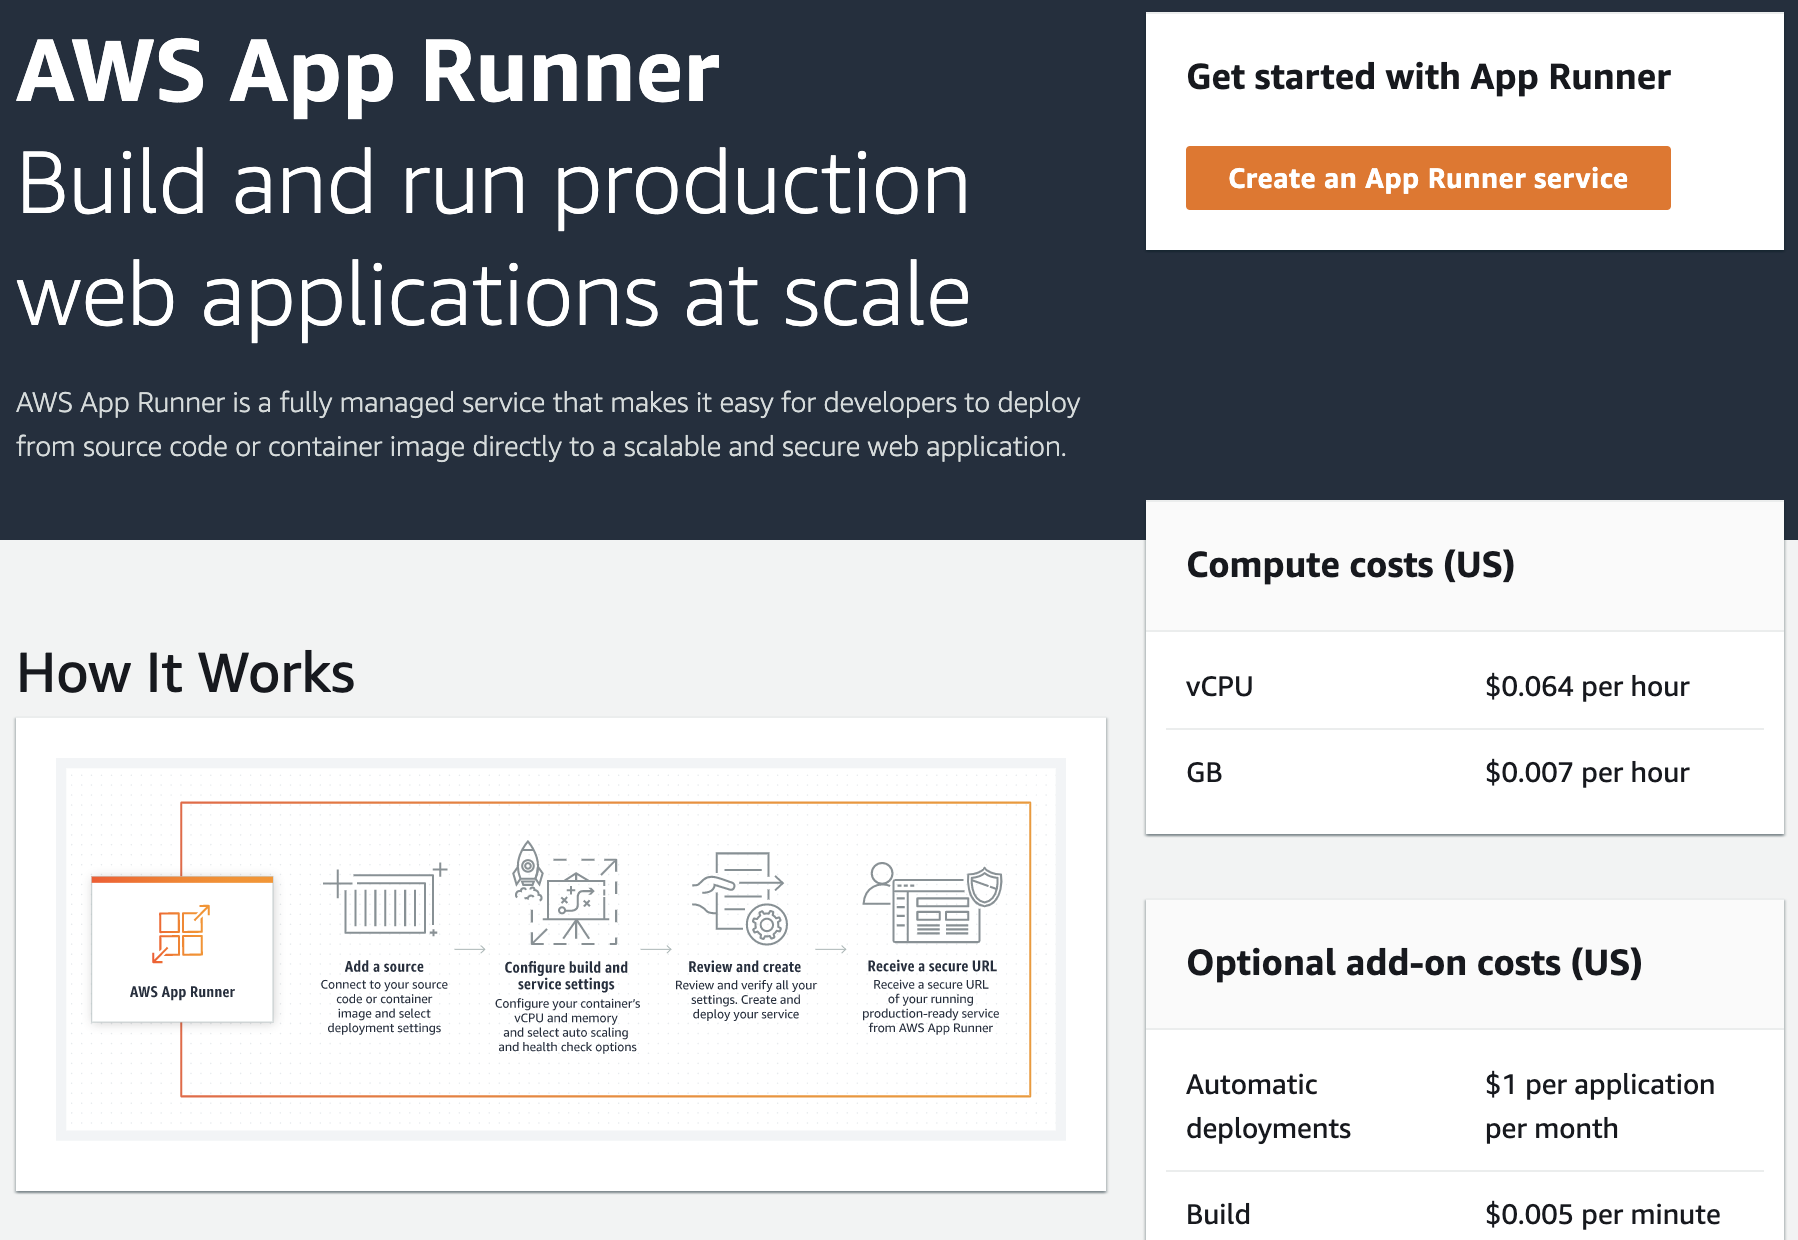
Select “Create a service”.
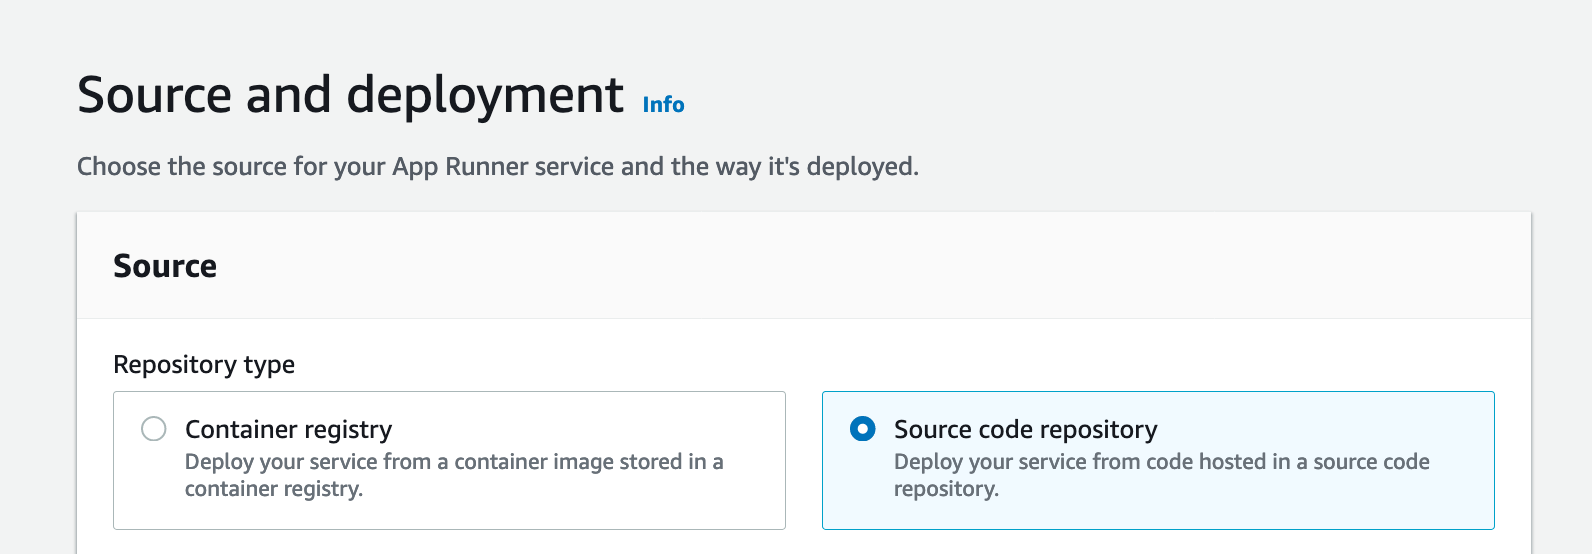
For your Repository type, select “Source code repository”. This will require you to add a connection to GitHub in order for AWS App Runner to deploy your new service. Select “Add new”.
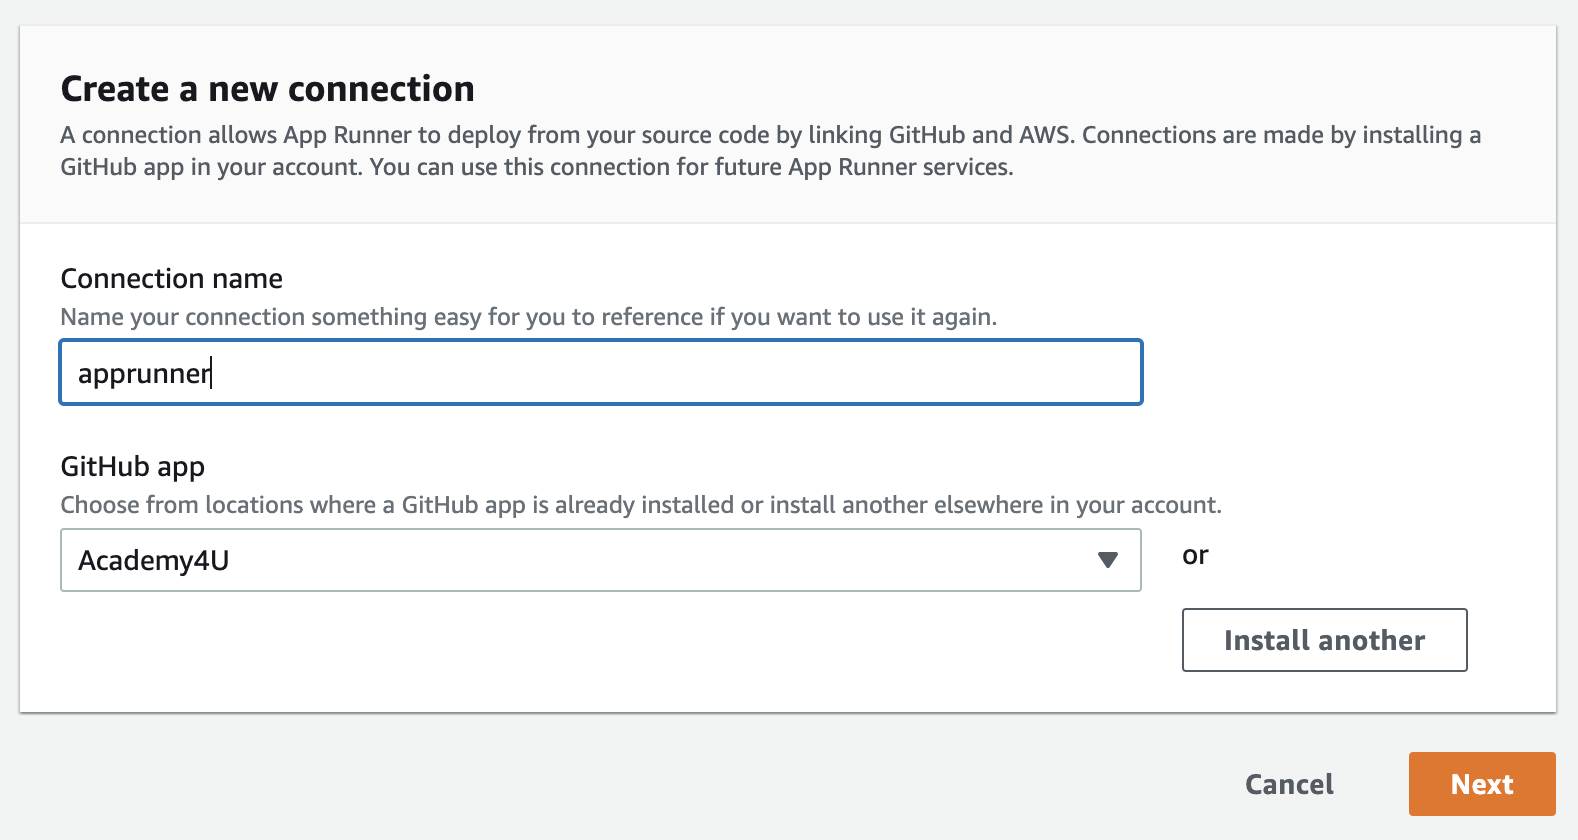
Give your connection name a suitable name - for example apprunner-example-connection. Install a GitHub app with access to the repository you have just created by choosing the organization in which you created your new repository. Select your own account name.
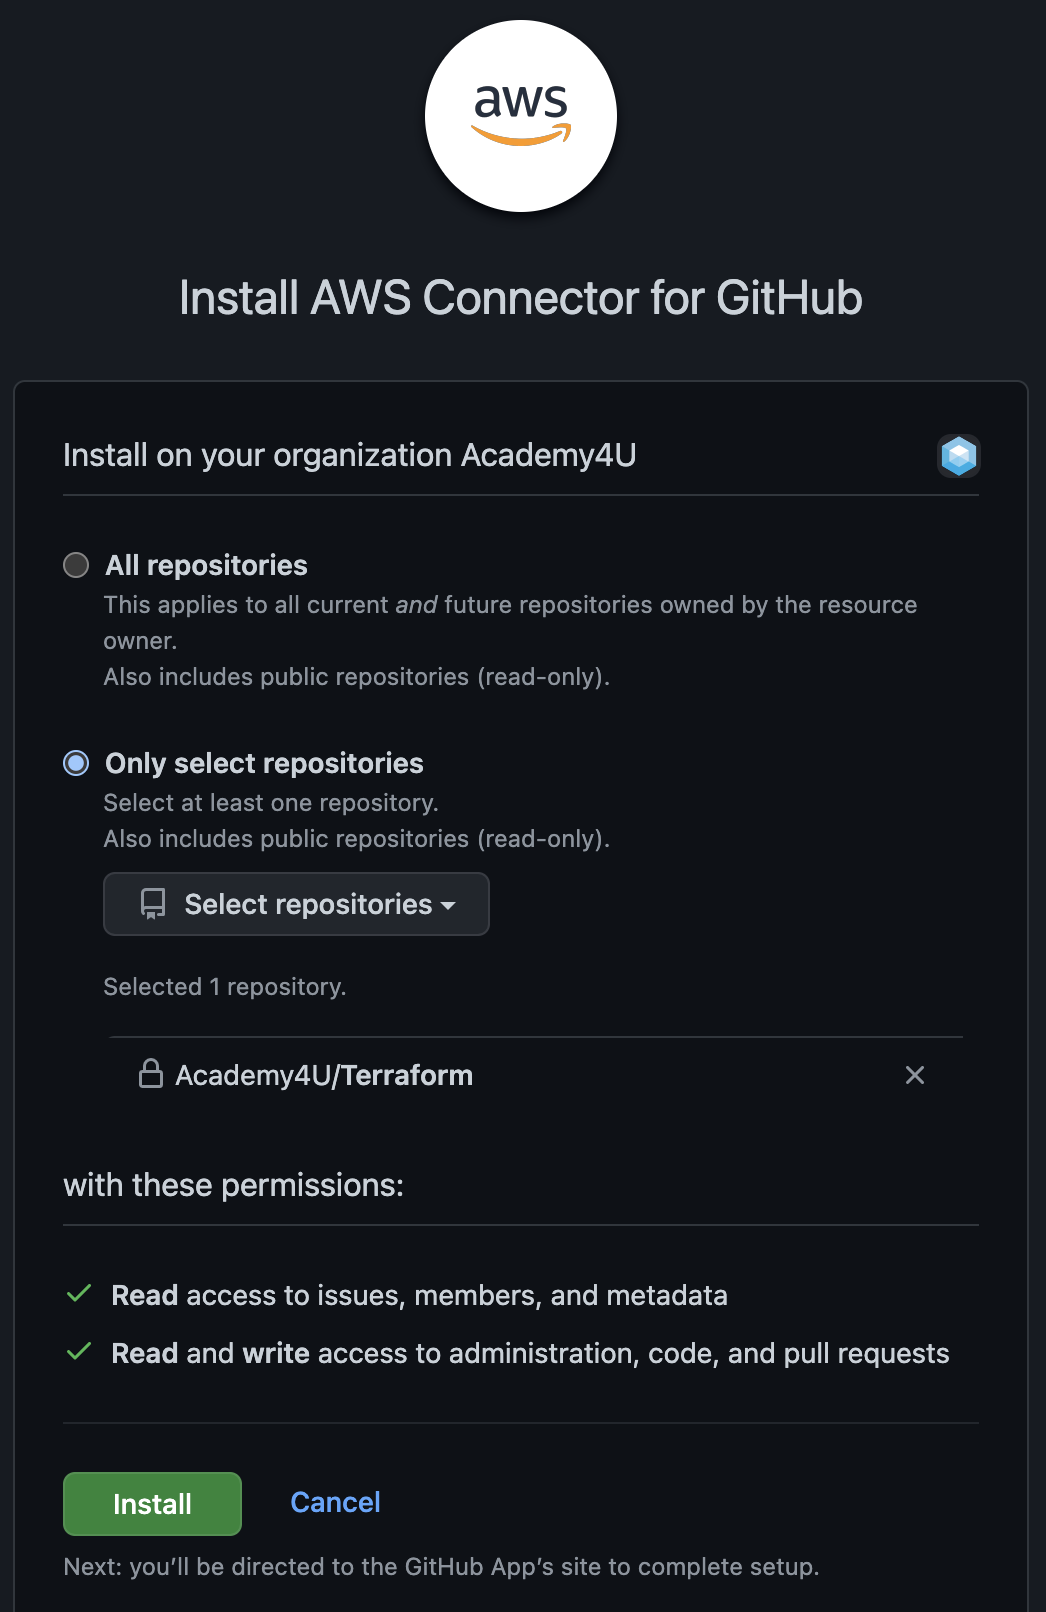
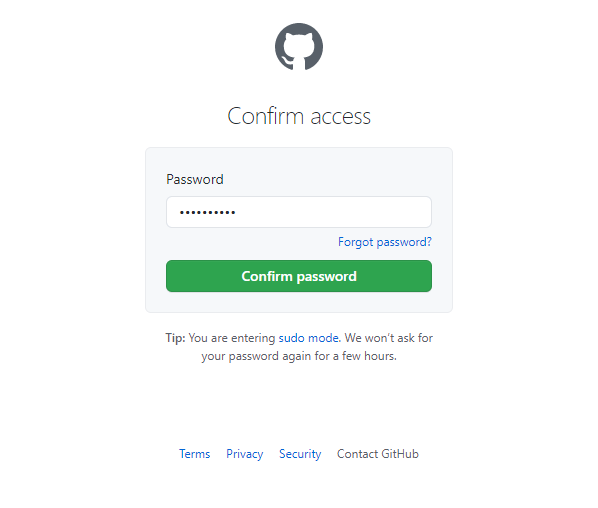
Confirm your password
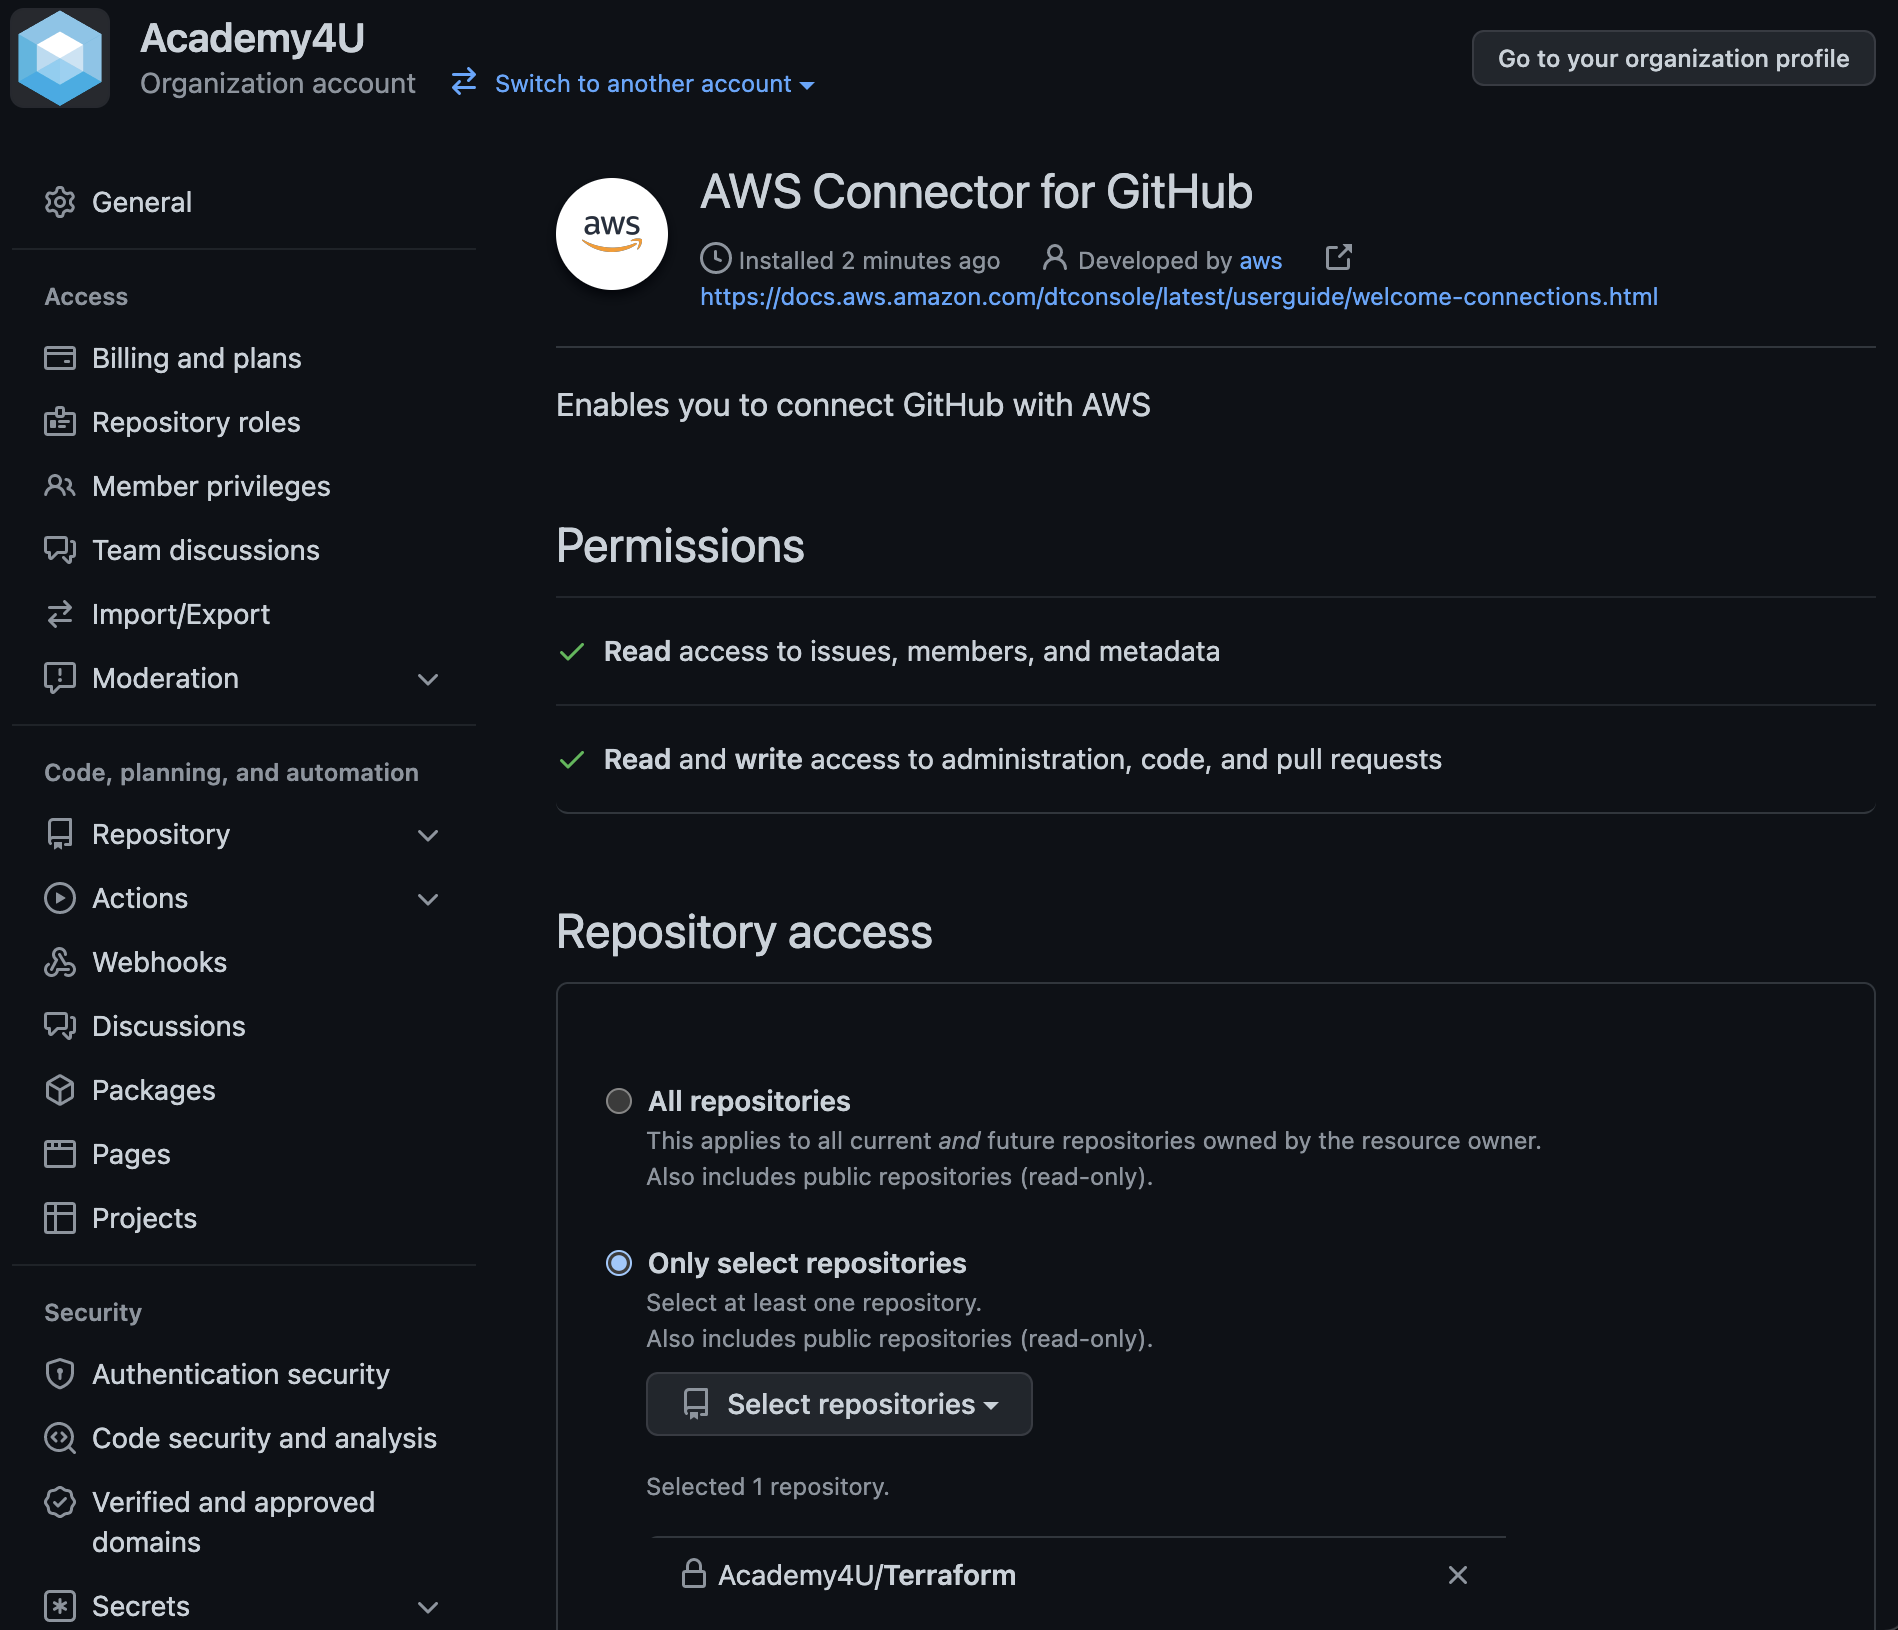
Select the repository you created earlier within “Only select repositories”, and click “Save”. You will now be taken back to Step 1 within AWS App Runner service creation.
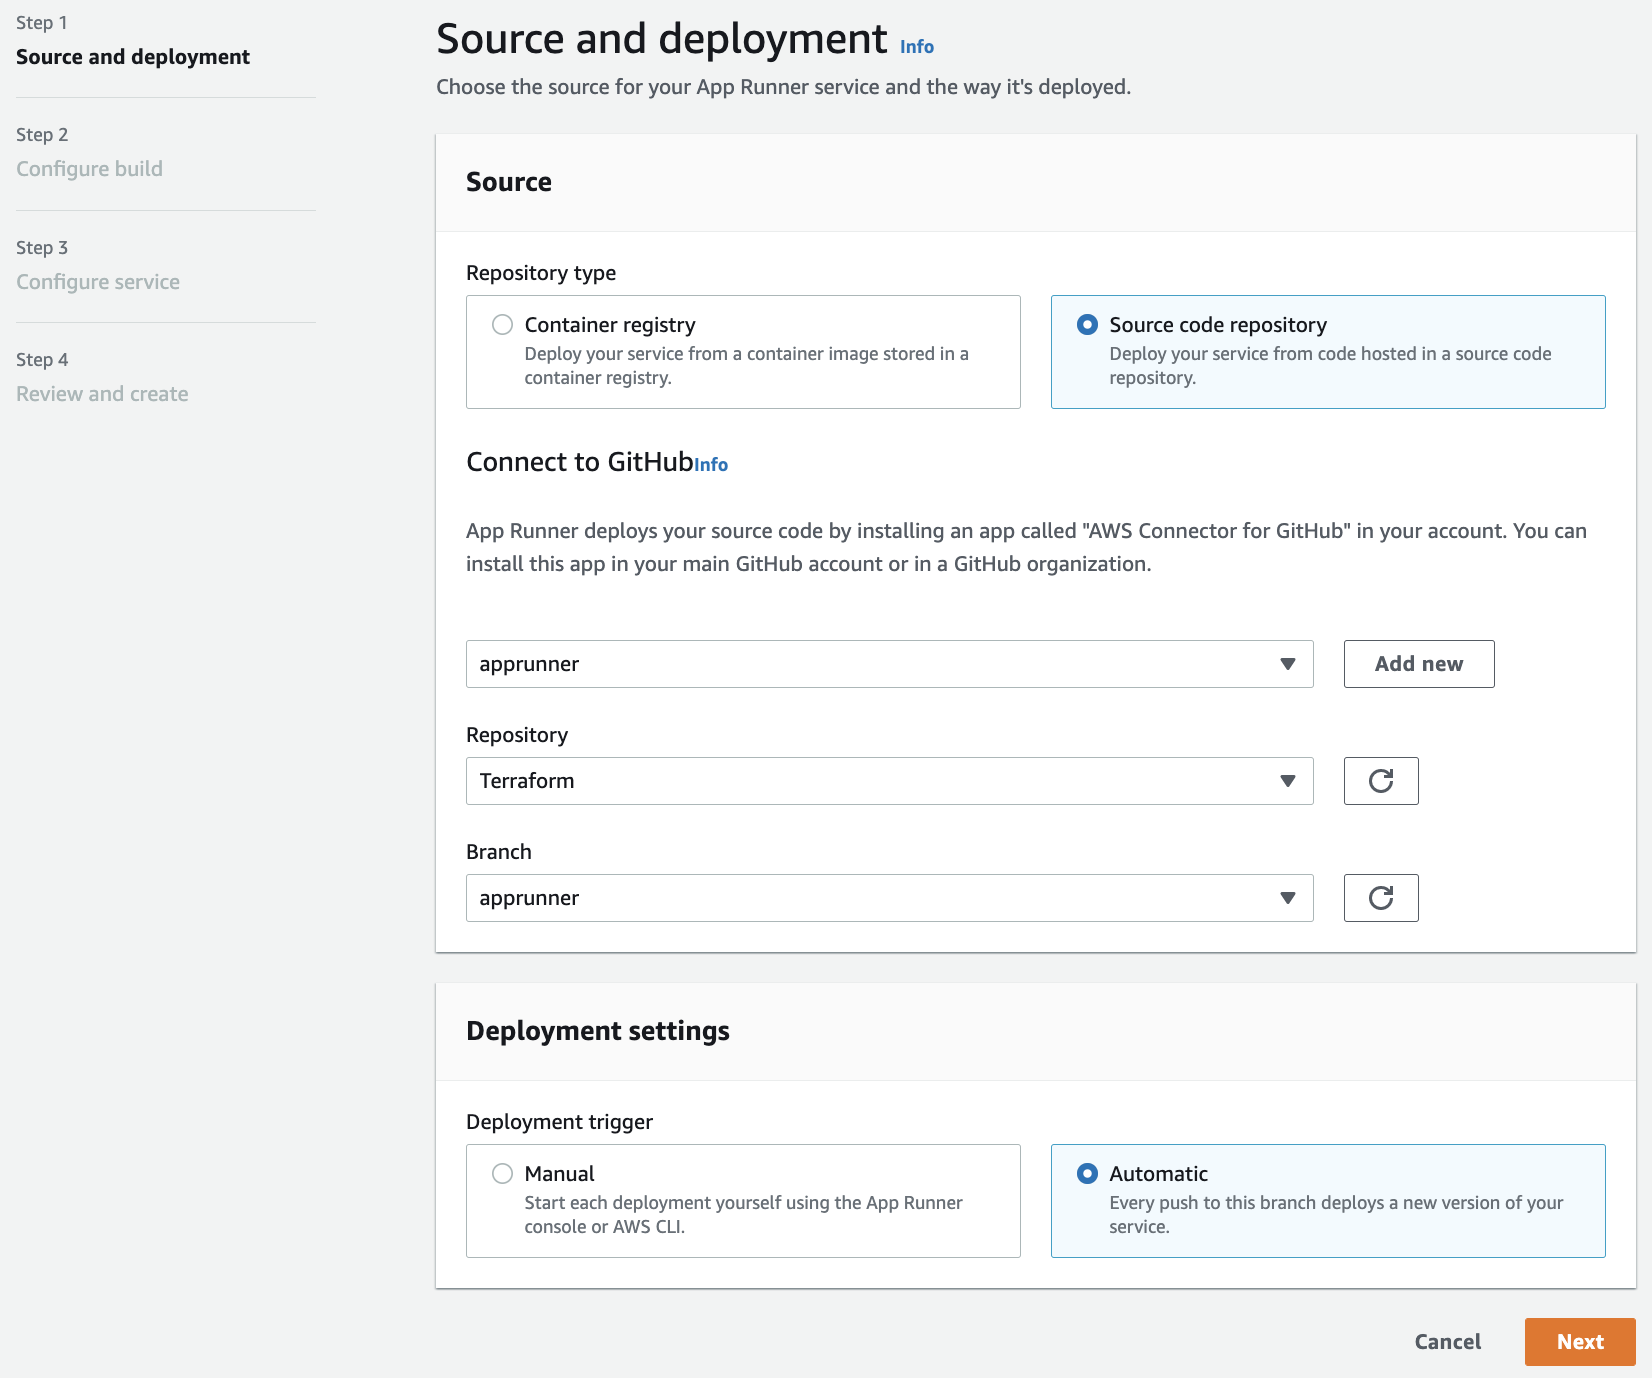
Underneath Deployment trigger, select “Automatic” in order to automatically redeploy your application whenever a code change is pushed to the main branch of your Github repository, then select “Next”.
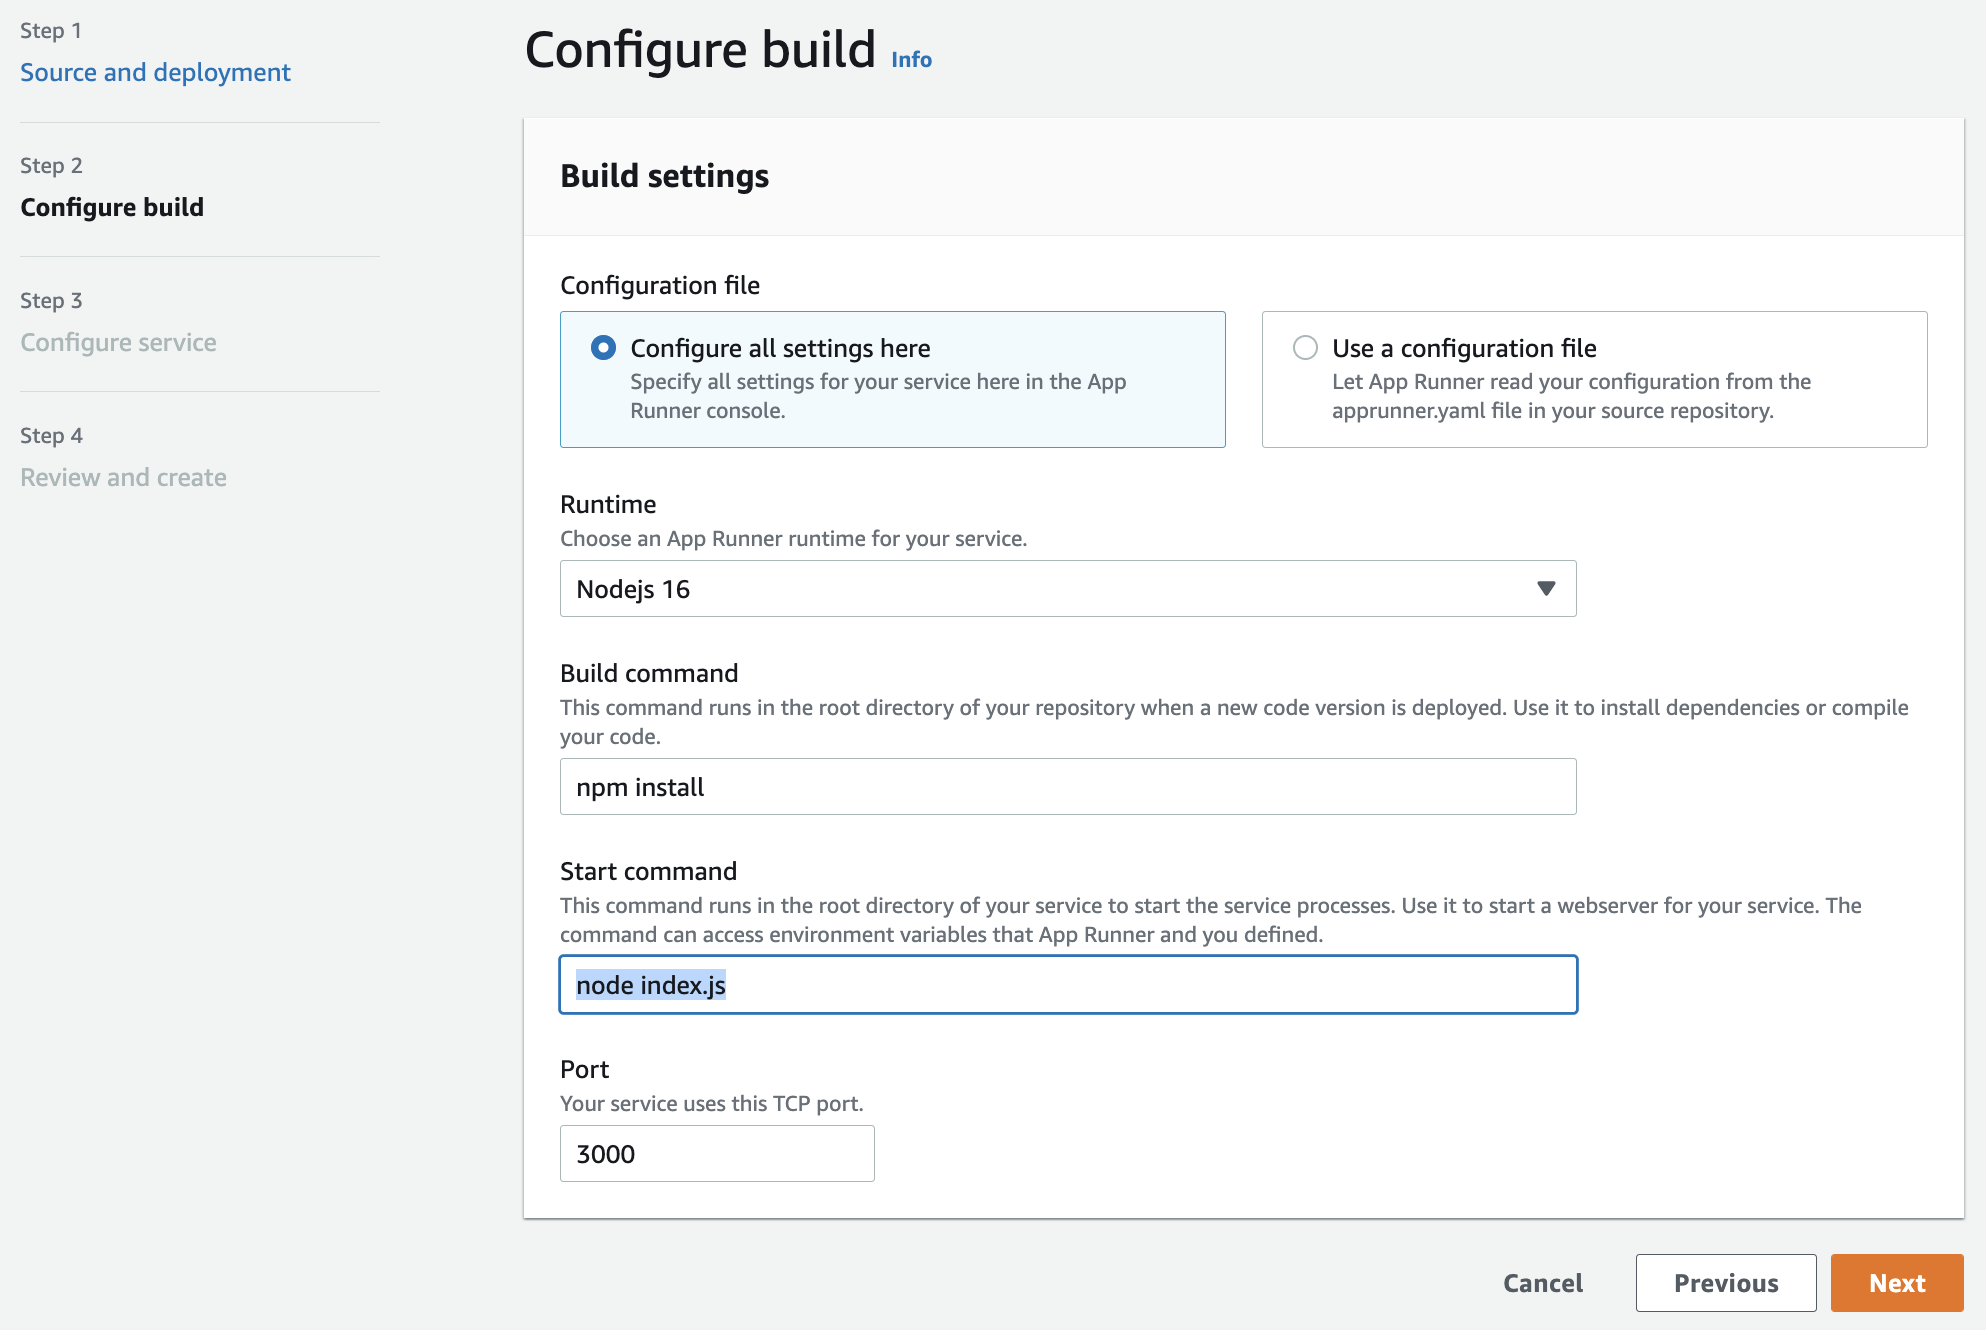
For this example, we are going to specify all the settings for our service manually. This is in order to show the control that AWS App Runner gives you. Later we will demonstrate giving these settings through a configuration file contained within your code repository.
Select “Configure all settings here”, then underneath Runtime select “Nodejs 12” from the dropdown.
Under Build commend, enter npm install.
Under Start command, enter node index.js.
Under Port, enter 3000.
Select ‘Next’ to continue.
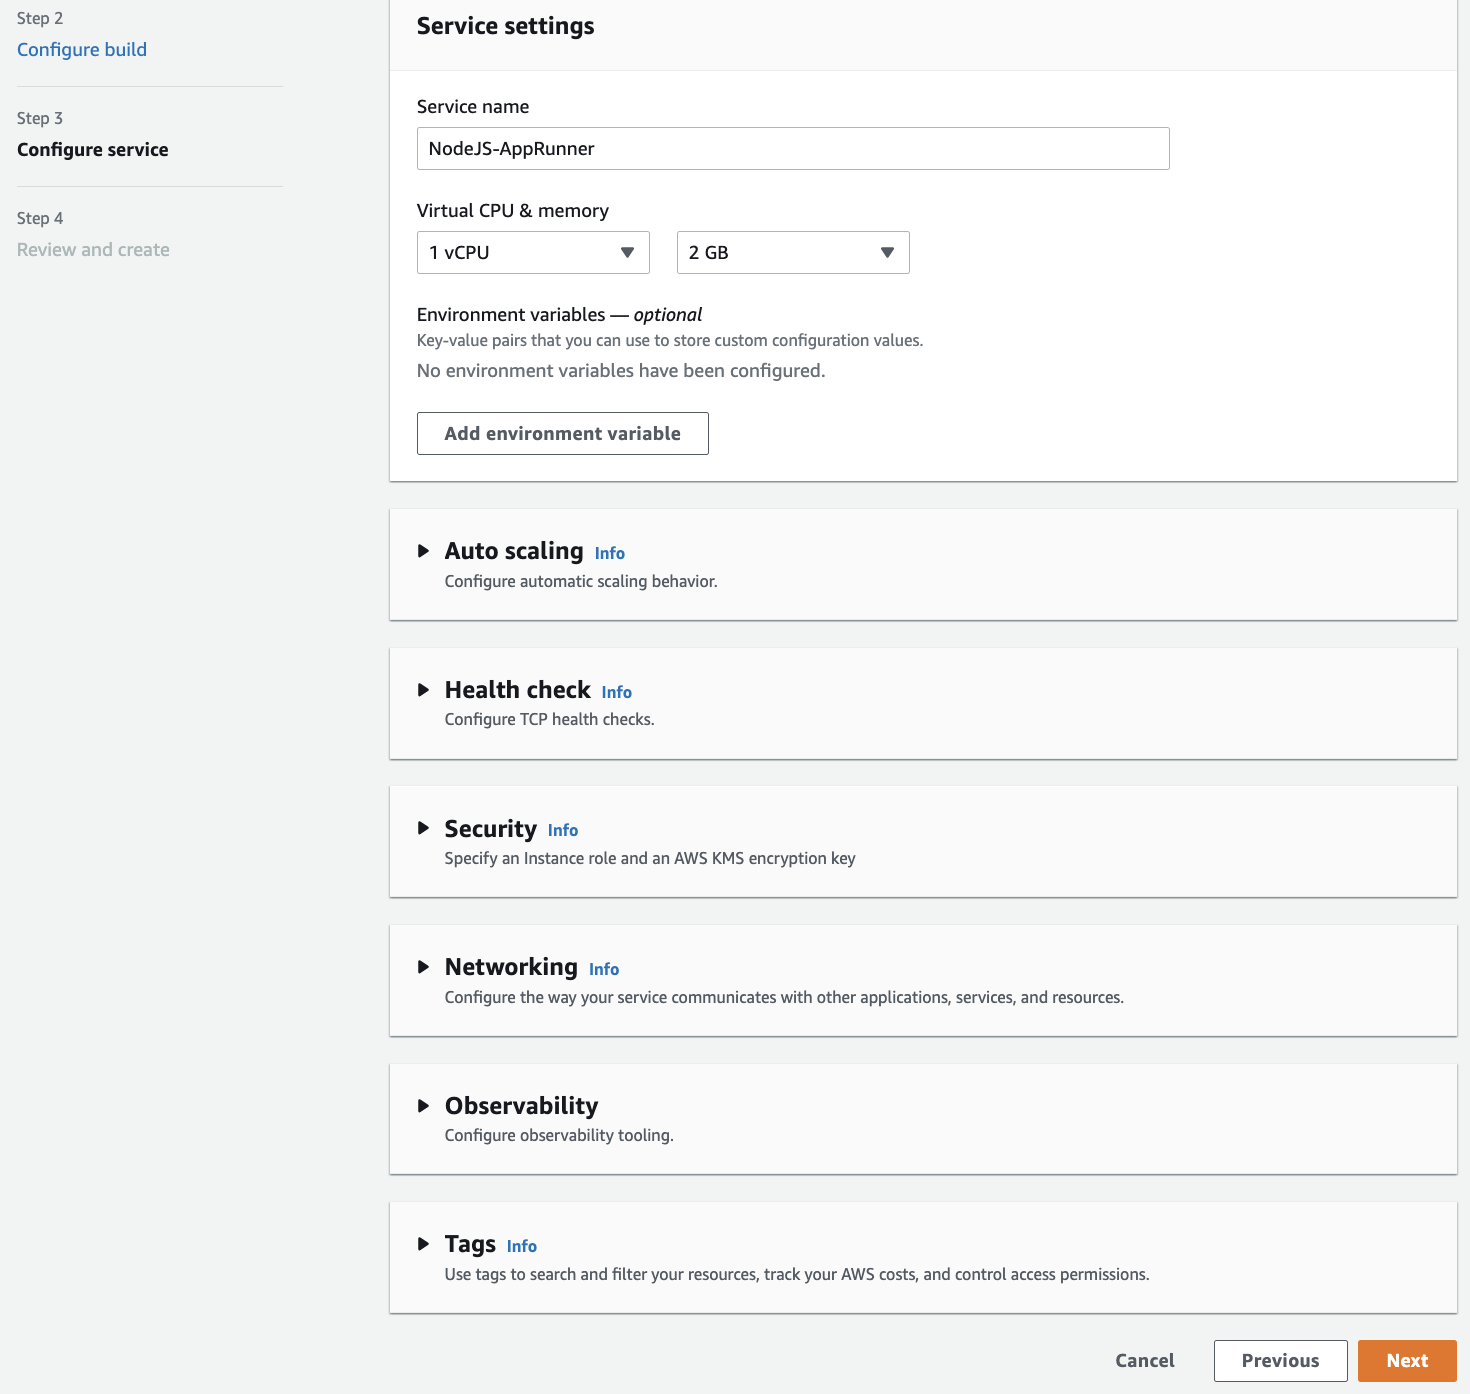
In this step we will give our new service a name - simple-express-app. Leave the rest of these settings as defaults. Select “Next” to continue.
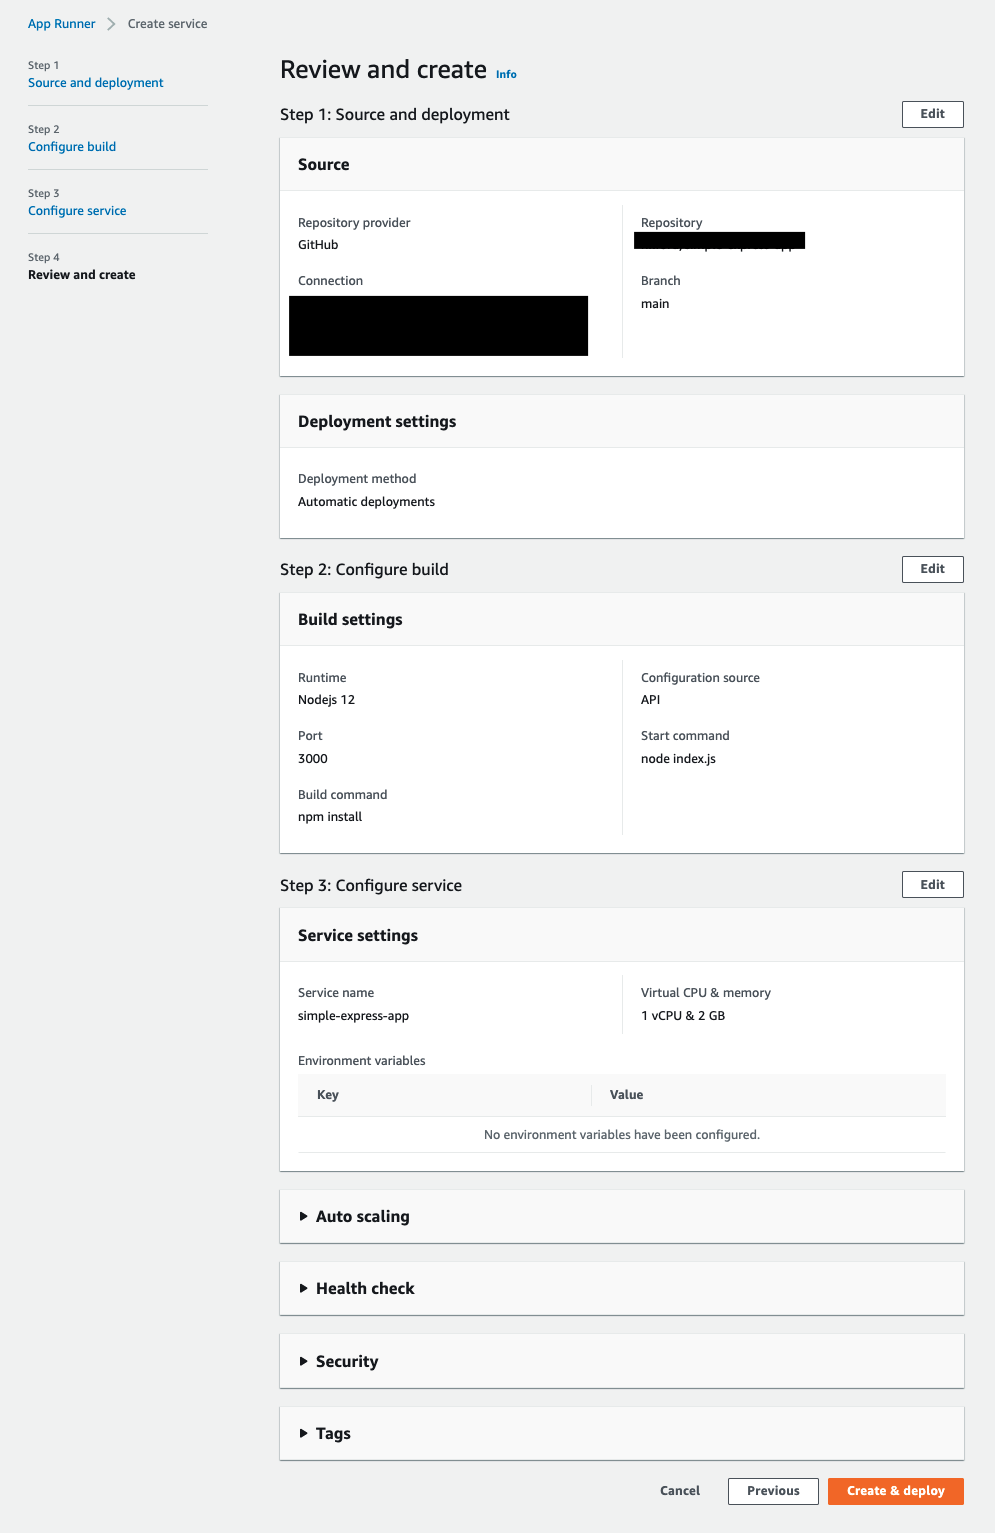
Finally, review your settings and select “Create & deploy”. This will take a few minutes.
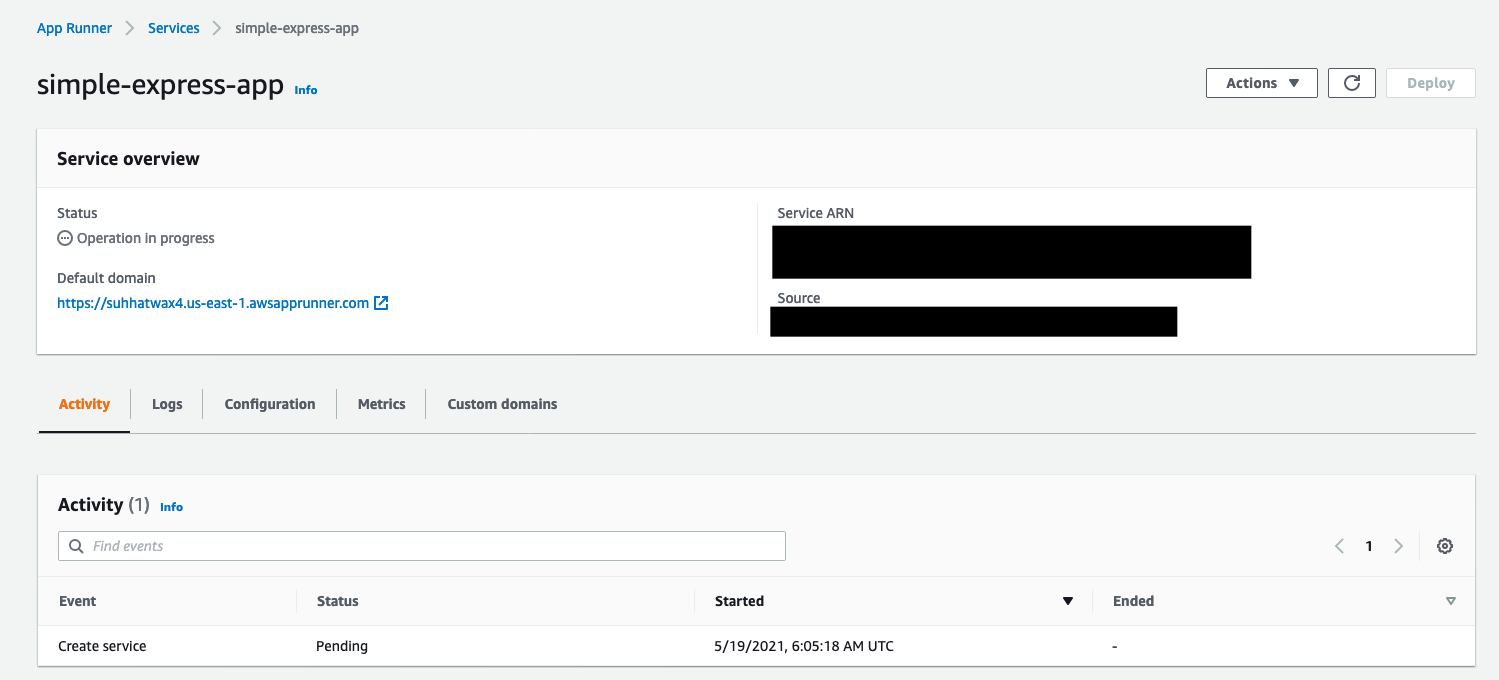
Once status has moved to “Complete", you can click on the url listed below “Default domain” in order to view the actual web application you have just deployed.
Congratulations, you have just deployed a simple web service using App Runner!